🍕 CSS의 flex

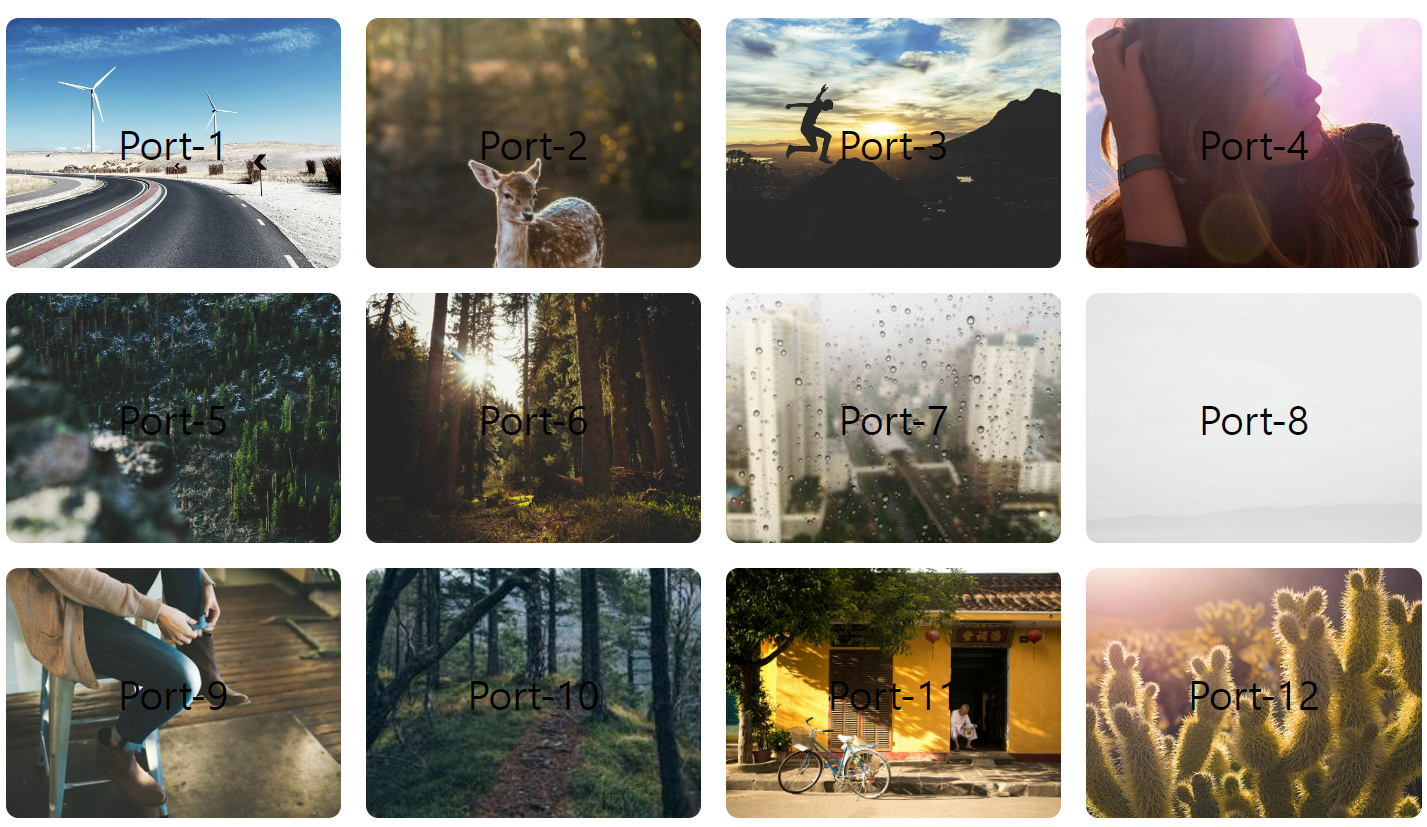
이러한 포토박스를 만들어보려고 한다.
일단 12개의 div가 필요
<main id="photoBox">
    <div class="wrap">
        <!-- <div class="box">1</div>
        <div class="box">2</div>
        <div class="box">3</div>
        <div class="box">4</div>
        <div class="box">5</div>
        <div class="box">6</div>
        <div class="box">7</div>
        <div class="box">8</div>
        <div class="box">9</div>
        <div class="box">10</div>
        <div class="box">11</div>
        <div class="box">12</div> -->
    </div>
</main>
이렇게 만들어도 되지만 ..
만약 사진이 점점 늘어나는 구조라면 ..?
사진이 막 100000장이라면 ???
<script src="./js/script.js"></script>
그렇다면 스크립트를 활용해보자
const box_arr = [
    ["img_01.jpg", "Port-1"],
    ["img_02.jpg", "Port-2"],
    ["img_03.jpg", "Port-3"],
    ["img_04.jpg", "Port-4"],
    ["img_05.jpg", "Port-5"],
    ["img_06.jpg", "Port-6"],
    ["img_07.jpg", "Port-7"],
    ["img_08.jpg", "Port-8"],
    ["img_09.jpg", "Port-9"],
    ["img_10.jpg", "Port-10"],
    ["img_11.jpg", "Port-11"],
    ["img_12.jpg", "Port-12"],
];
2차 배열을 활용하였다.
["이미지 파일명", "내용"]
let $bongdari = "";
각 분기점의 패턴을 담을 곳을 선언.
for(v of box_arr){
    $bongdari += `<div class="box" style="background-image: url(./img/${v[0]})">${v[1]}</div>`;
}
for of 문과 템플릿을 활용하여 배열속 요소를 봉다리에 넣었다.
이 반복문이 끝나면 배열속 모든 요소가 div와 style 형식을 갖춘채로 봉다리에 담겨있다.
DOM의 기준(부모영역)으로 반복문 형태를 자식의 위치에 배치해보자
const mainWrap = document.querySelector("main .wrap");
const mainWrap에 main의 wrap 클래스를 잡고
mainWrap.innerHTML = $bongdari;
html로 보내기

일단 사진과 내용을 html 올리는 건 완성!
<link rel="stylesheet" href="./css/style.css">이제 css를 활용하여 제대로 배치해보자
main .wrap{
    width: 1200px;
    margin: 0 auto;
    padding: 0 10px;
    display: flex;
    flex-wrap: wrap;
    gap: 20px;
}
가로 길이를 정해주고
display를 flex로 설정
공간정렬을 warp 로 설정
공간간 간격은 20px로 설정
main .wrap .box{
    width: calc((100% - 60px) / 4);
    /* 20gap 빼고 4 나눈 것 (4열) */
    height: 200px;
    background-color: #faa;
    border-radius: 10px;
    display: flex;
    justify-content: center;
    align-items: center;
    font-size: 32px;
    background-size: cover;
    background-position: 50% 50%;
    /*가로 50 세로 50 정렬 = 가운데*/
}
기본 4열로 나열을 하려고 하기 때문에 간격은 총 60px
즉, 박스 하나당 가로 길이는 전체길이에서 60을 빼고 4로 나눈 값이 된다.
display flex, 내부 박스를 중앙으로 정렬하기 위해 justify-content: center
이미지의 가운데 정렬을 위해 background-position을 조정.

짠 완성!
하지만 이대로의 css라면 화면 비율이 달라지면 엉망이된다..
이럴때 미디어쿼리!
@media (max-width: 1200px){
    header .wrap {
        width : 100%;
    }
    main .wrap{
        width: 100%;
    }
}

@media (max-width: 991px){
    /* .box{
        width: calc((100% - 40px) / 3);
    } ==> 점수가 낮아서 적용이 안댐*/
    main .wrap .box{
        width: calc((100% - 40px) / 3);
    }
}


@media (max-width: 767px){
    main .wrap .box{
        width: calc((100% - 20px) / 2);
    }
}
여기서는 css의 명시도가 중요해진다.
왜냐면 점수가 높은 선택자를 우선으로 적용하기 때문!!
왜 적용이 안되지? 싶으면 대부분 명시도 문제!
제대로 짚어줘서 명시도 점수를 올리자
 |  |  |
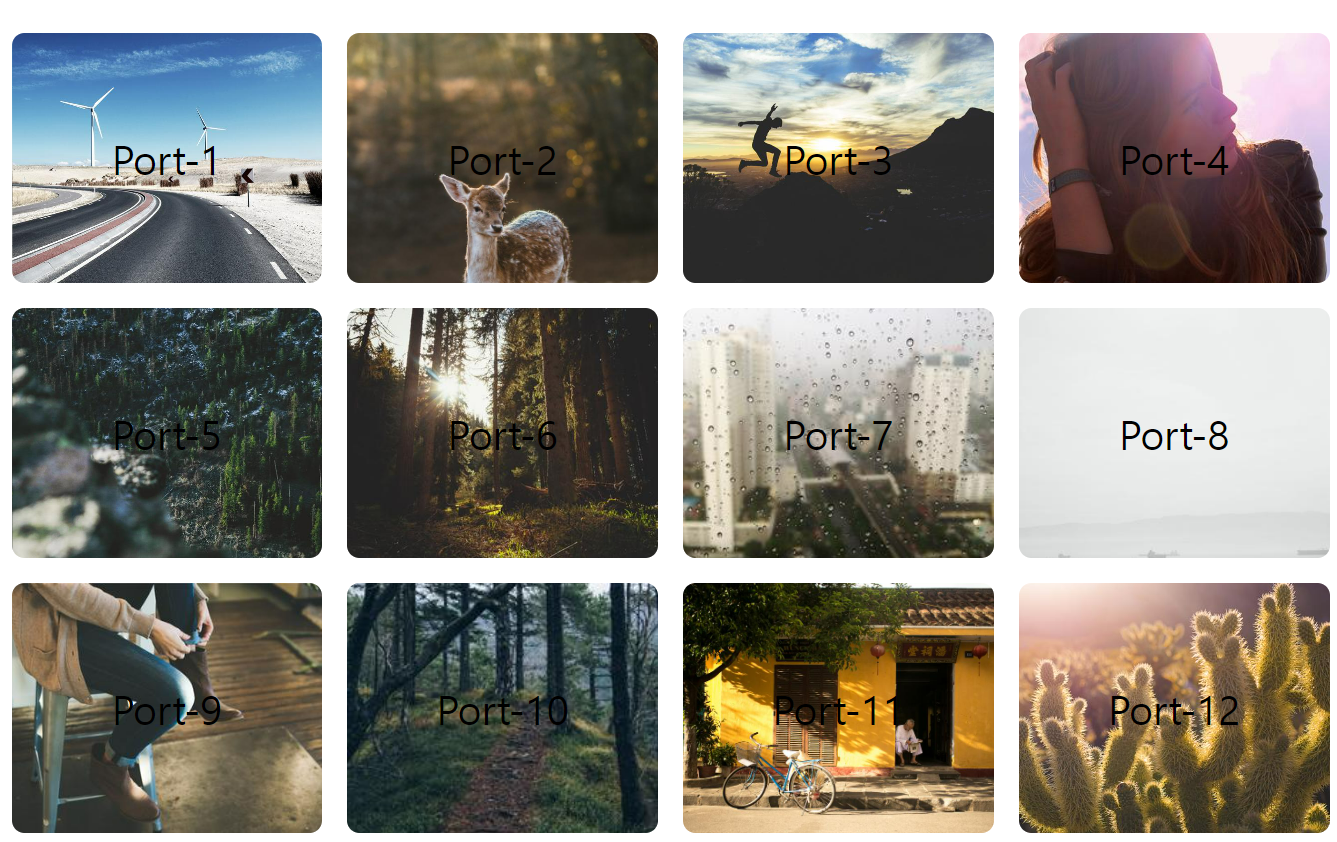
짠! 이제 브라우저 크기가 달라지면 레이아웃도 달라진다!
🍕 CSS의 명시도
| id 선택자 | #아이디명 | 100점/개당 |
| class 선택자 | .클래스명 | 10점/개당 |
| tag 선택자 | 태그명 | 1점/개당 |
| 전체 선택자 | * | 0점/개당 |
🍕 디바이스 크기
다양한 디바이스의 크기는 여기서 확인해보자
https://www.mydevice.io/#compare-devices
mydevice.io : web devices capabilities
Mobile devices, in Responsive Web Design, relate to a core value which is the value of CSS width or ("device-width"), in CSS Device Independant Pixels, which depends both of the browser and user zoom settings. Choose your weapon :
www.mydevice.io
'🧠 저장 > HTML&CSS' 카테고리의 다른 글
| a 태그에 rel="noopener noreferrer" 속성을 추가하는 이유 (0) | 2024.05.17 |
|---|---|
| css 선택자, 미디어 쿼리 (0) | 2022.08.16 |
| html 동영상 가져오기 (IFRAME, VIDEO) (0) | 2022.08.03 |

